Carrying players in Baddies is the third core action in the entire move set, and it sits on top of a chain that starts with a knockdown and ends with a stomp. The official control list binds carry to the G key and only opens the prompt after a rival hits the ground, which means you cannot pick anyone up from a neutral stance. If you want to know Baddies how to carry players without fumbling the input window, the order of operations matters more than raw damage. The pickup itself lasts until you drop, while you walk, or while Shift runs, so the rest of this guide breaks down how to reach the downed state quickly, what the G key actually does once you are standing on a body, and why the same setup also feeds the mop and stomp finishers that close out a fight.
The Knockdown Chain: How to Get Someone on the Ground
Every carry starts with a knockdown, which means learning Baddies how to knock someone down is the real first step. Downed players in Baddies cannot block, dodge, or use the fists tool until they recover, and the recovery window is long enough that an organized player can convert one knockdown into a pickup, a relocate, or a full mop finisher. According to the official Baddies game page, the move set is locked to five inputs — E stomps, F pulls hair, G carries, Shift runs, and the fists tool is the default striking weapon — and three of those five only work on a body that is already down.
The fastest way to get there is to chain light fists into a charged hair pull. F requires a blue charge bar that fills as you land clean hits with the fists tool, and once the bar is full, F yanks the target forward and breaks their posture. That is the cleanest knockdown source in the game and the one most players run when they ask about Baddies how to fight multiple players, because a single charged F can flip the numbers in a 1v2 if you pick the right target first.
Setup Inputs vs. Follow-Up Inputs
Every carry in Baddies flows through a state machine: neutral stance, the F charge bar building with M1 punches, a hair pull knockdown, and finally the E stomp or G carry that only triggers while standing on a downed opponent. Skip a step — say, mashing G from neutral or trying Shift-E without a body underfoot — and the game simply no-ops your input, which is why a freshly picked-up survivor can roll free if your sequence stalls. Treat the bar as a resource timer: M1 builds, F spends it, and G or E consume the resulting knockdown, so reading the current stance is what separates a clean lift from a wasted execution.
| Input | Required State | Effect |
|---|---|---|
| Fists tool (M1) | Any stance | Builds the blue charge bar and deals chip damage |
| F | Bar full + target in range | Hair pull that forces a knockdown |
| E | Standing on a downed target | Stomp finisher, ends the fight outright |
| G | Standing on a downed target | Carry, lifts the body and lets you walk or Shift-run |
| Shift | Any stance | Sprint, only movement tool that works mid-carry |
The state machine is strict: the F hair pull needs a full bar, the E stomp needs a body under your feet, and the G carry needs the same body under your feet. Players who try to G from a neutral stance get nothing, which is the most common reason newcomers think carrying is broken when it is actually gated.
Three Reliable Knockdown Sources
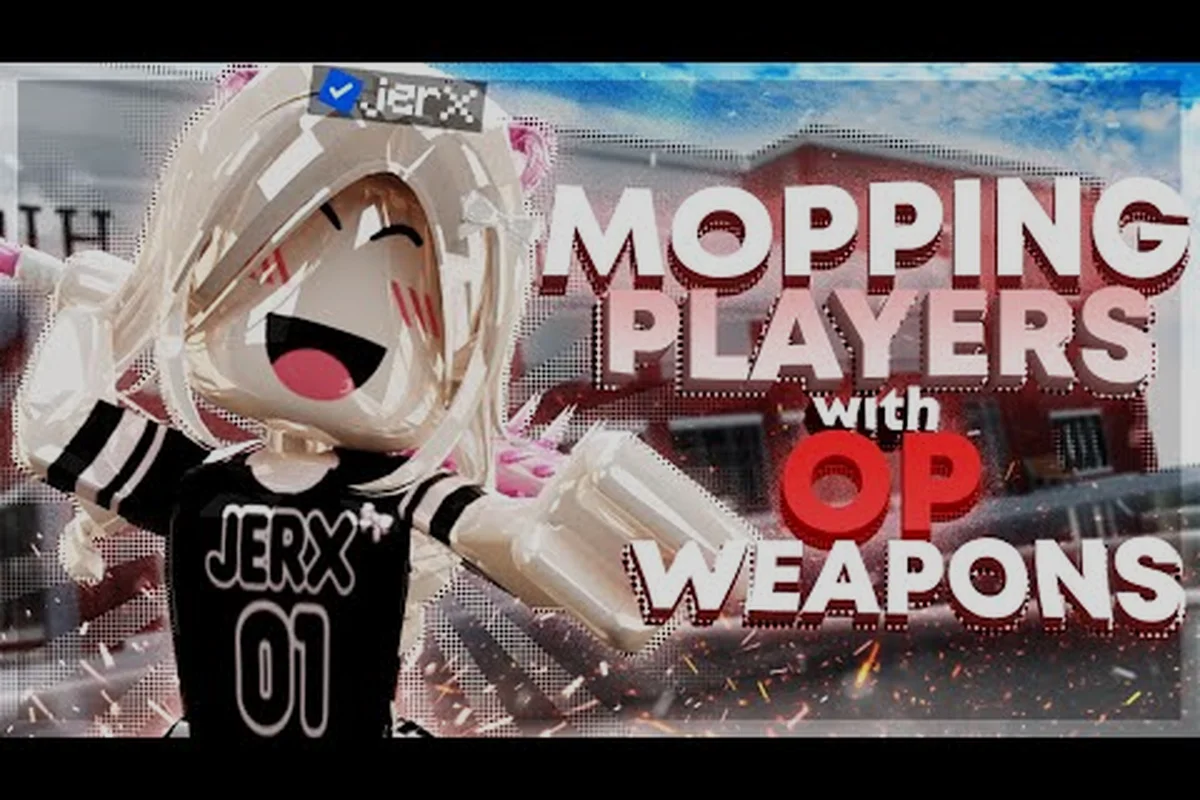
When the hair pull is on cooldown or the bar is empty, you still have options for putting a player on the floor. Community testing from clips like the "MOPPING CHECKMARKS IN ROBLOX BADDIES" video by jerx shows three reliable knockdown routes that feed the same carry prompt.
-
Charged F after a fist combo — the cleanest knockdown, but you must commit to landing two or three clean M1s first to fill the bar.
-
Environmental knockdowns — ledges, ramps, and certain map props can tip a chasing player forward, after which you can step on them and press G.
-
Punish windows after a missed F — when an opponent wastes their own F whiff, their recovery frames leave them open to a charged F from you, which feeds straight into the pickup.
Once the body is on the ground, the carry window opens immediately. There is no extra prompt or interaction popup — you walk onto the downed player, press G, and the carry animation starts on the next frame, which is why mopping chains feel so fluid when you chain a Charged F knockdown straight into a pickup. Because the pickup uses the same G keybind as grabbing a standing opponent, beginners often waste the window by holding G too long and accidentally dropping the body; tap G once, then immediately press your follow-up input (M1 to start the mop combo, or F to throw) before the carry animation finishes its first cycle.
How to Carry Players Once They Are Down
The G carry input only works while you are standing on a downed player, so the trick is learning how to chain a knockdown into a step-on without letting the target roll out of reach. Per the official control reference, a carry cannot be opened from neutral — you must win the exchange and flip the rival over first, and the lift only starts from a downed body. That single rule is the answer to most questions about Baddies how to carry players, because every failed pickup attempt traces back to the carrier not actually being on top of the target.
When the G prompt fires, the rival is locked to your character and follows you wherever you walk. They cannot hit back, they cannot use Shift, and they cannot trigger their own F. The only ways the carry ends are: you press G again to drop them, you walk off a ledge and the carry cancels, or an outside player hits you hard enough to interrupt the hold. Community clips from creators like Sterling Bleu and randozzz show players regularly using the carry to drag a body across the map, which is the core tactic in any "how to fight multiple players" plan: relocate the body so the rest of their team has to chase instead of trade.
What You Can and Cannot Do Mid-Carry
The carry state is more limited than it looks. Movement is restricted to walking and Shift-running, and you cannot use the fists tool, F, or E while holding someone. The combination matters because it tells you what your real options are in the middle of a pickup.
| Allowed Mid-Carry | Blocked Mid-Carry |
|---|---|
| Walk (WASD) | Fists tool attacks |
| Shift sprint | F hair pull |
| Drop with G again | E stomp |
| Jump (short hop only) | New knockdown attempts |
| Look around / camera rotate | Stomp on a third downed target |
That limitation is exactly why carries are usually a repositioning tool rather than a finisher. If you want to end the fight from a carry, the answer is to walk the body to a safe spot, drop them, then re-step on them so E or a mop can land. The split-second between dropping and re-stepping is the real execution window, and it is where most of the Baddies how to mop advice online gets tested.
Mopping, Stomping, and Going Bald: Finishers on Downed Players
The same stepped-on position that enables the carry also enables the stomp finisher on E, and it also opens up a third option: hitting a player while standing on them registers a mop. According to the official Baddies control list, mops and stomps share one setup, which is why the question of Baddies what does mop mean comes up next to almost every carry question. A mop is a free hit that lands because the target is pinned under your feet — no charge bar, no cooldown, no special input beyond standing on the body and swinging the fists tool.
The community shorthand "mopping" comes from the visual of one player standing on another while swinging, and the action shows up constantly in creator clips. In the "ABOUT TO MOP THE GIRLS IN BADDIES" video by Sterling Bleu and the "ROBLOX BADDIES ✰ MOPPING PEOPLE IN TESTING PLAZA" clip by OWENUH, the entire loop is knockdown → step-on → mop → drop → repeat. That loop is also the answer to Baddies how to get people bald, because repeated mops and stomps drain a downed player's wig, and once the wig is gone the avatar visibly goes bald, which is the cosmetic payoff for finishing someone off cleanly.
Mop vs. Stomp vs. Carry at a Glance
All three finishers share the same downed-state input but produce very different results, so picking the right one is a tactical call rather than a reflex, and the choice compounds when you are dealing with baddies how to fight multiple players in the same scrap. Mop preserves your escape route, Stomp burns the E cooldown for a guaranteed chunk of damage, and Carry trades positioning control for outright relocation, which is why solos usually rotate between them while squads with backup swing straight into Stomp to delete a body before reinforcements arrive.
| Finisher | Input | Best Use | Risk |
|---|---|---|---|
| Mop | M1 while standing on a body | Chip damage, style points, and forcing a wig to fall off | Leaves you on top of the body and exposed to backup |
| Stomp (E) | E while standing on a body | High-damage finisher that ends a low-HP target | Commits you to the animation, no cancel |
| Carry (G) | G while standing on a body | Relocate the body to break up groups | Drop the rival in a safe spot and they can recover |
The mop sits between the carry and the stomp in terms of commitment. It does not end the fight, it does not relocate the body, but it does build pressure and it is the cleanest way to drain a wig. Players who ask about Baddies how to get people bald usually end up running the mop loop because stomps cost the E cooldown window and carries spend time walking, while mops just need the fists tool and a body under your feet.
Fighting Multiple Players Around a Carry
The real reason to learn the pickup is not 1v1 — it is 1v2 and 1v3 situations where you need to split the enemy team. Carrying a body forces their team to make a hard call: chase the carrier and give up positioning, or leave their teammate behind and lose the numbers advantage. That split is the entire logic of Baddies how to fight multiple players, and it only works if the carrier knows when to drop, when to re-step, and when to bail.
Community testing reported by players on clips like ☆BeastBoii☆'s "I got enough ROBUX and used a stomp crate in BADDIES" video shows that the worst thing a carrier can do is tunnel on the pickup. The moment two or more enemies are focusing you, the carry becomes a liability because Shift running with a body is slower than sprinting without one, and you cannot fight back while holding. Drop the rival near a wall, re-step for one mop or stomp, then back off and let the team decide who picks the body up next.
Group-Fight Positioning Rules
Once the knockdown chain starts in a group fight, the carrier becomes the tempo setter for the entire squad — every pickup, drop, and stomp resets the clock on revives, wigs, and HP drain, so the choice below directly decides whether your team snowballs a numbers advantage or gets collapsed on mid-carry. Read these rules as the decision tree you run while holding a downed player, since the right answer flips based on teammate positioning, enemy revive speed, and your own HP bar. The table that follows maps the five multi-player scenarios you'll see most often to the specific carry decision that wins the trade, drawn from how high-rank players sequence their pickups in 1v2 clips.
| Scenario | Carrier Decision | Why |
|---|---|---|
| You just knocked the strongest enemy | Carry them away | Splits the team and removes their top damage source |
| Two teammates are covering the body | Drop and stomp | Free finisher, low risk |
| The enemy team is reviving fast | Mop loop | Drains HP and wigs faster than revives can patch up |
| You are the last one standing | Carry toward spawn | Buys time for the team to regroup |
| Low HP yourself | Drop and run | The carry animation locks your weapon, exposing you |
These rules are the practical layer on top of the basic Baddies how to carry players sequence, and they come straight from how high-rank players sequence their pickups in 1v2 clips. If you want a deeper breakdown of the fist-and-hair-pull combo that sets all of this up, the Baddies combat basics walkthrough covers the same knockdown chain from the other direction.
Common Mistakes and How to Recover From Them
Even players who know the inputs lose pickups to small positioning errors, and most of those errors are easy to fix once you see them. The first one is pressing G before stepping on the body. The prompt only fires when your character is on top of the rival, so if you are standing next to them the input does nothing. Walk into the body, then press G. The second mistake is trying to G while still swinging the fists tool, because the M1 animation locks you out of the carry for a few frames. Cancel the swing by stopping movement, then press G. The third is forgetting that Shift running mid-carry has a longer startup than normal Shift, so the first half-second of a sprint-with-body is actually a walk and enemies can catch up.
Quick-Reference Recovery Table
A failed pickup usually traces back to one of three breakpoints in the step-on → G → walk loop, so the fastest reset is to identify exactly which step failed before re-engaging: missing the body because you are standing beside rather than on top of it, double-tapping G and cancelling the carry animation, or sprinting off a ledge before the carry state locks in. The table below breaks each failure down by cause so you can match your situation to the correct fix without guesswork.
| Problem | Cause | Fastest Fix |
|---|---|---|
| G does nothing | You are next to the body, not on top | Walk into the downed player, then press G |
| Carry cancels immediately | You pressed G twice | Press G once, hold, and only drop on purpose |
| You cannot keep up with a chasing enemy | Sprint-with-body has a slow start | Drop near a corner so the enemy has to round it |
| A teammate keeps stealing the stomp | They re-stepped before you | Call the stomp or switch to a mop instead |
| You get interrupted mid-carry | A third party hit you | Drop the body, Shift-run, and reset the fight |
Each of these is a small habit shift rather than a new mechanic, which is why the carry loop is so friendly to practice. Run it a few times in the testing plaza, and the muscle memory for the step-on → G → walk sequence becomes second nature. Players who also want to brush up on the wider movement and defense layer that keeps you alive long enough to land a knockdown in the first place will find the Baddies controls and movement guide useful for the Shift and strafing side of the equation.
Putting It All Together: A Sample Carry Sequence
The cleanest way to see the full chain is to walk through a single round in order. Imagine a 1v2 where both enemies are swinging the fists tool at mid range, and you are holding the same loadout. The whole sequence — knockdown, step-on, G, walk, drop, mop, stomp — is the answer to nearly every Baddies how to carry players question in one motion.
-
Land two clean M1s on the closest target to start filling the blue charge bar.
-
Step back to bait a whiff, then press F to land the hair pull and force the knockdown.
-
Walk forward onto the body and press G to start the carry while Shift-running toward the corner.
-
Drop the body against the wall, then re-step onto the same player.
-
Press E to stomp the low-HP target and finish the fight.
-
If the second enemy closes in, Shift-run out, reset the bar, and repeat the F → G → E loop on them.
The whole round takes about 15 seconds and ends with both bodies in mop territory, which is the practical reward for mastering the carry. Once the loop feels natural, the cosmetic side of things — repeatedly running the mop until wigs fall off and avatars go bald — also becomes a free byproduct of good play. For a wider view of how the fists tool, the F hair pull, and the loadout choices feed into this loop, the Baddies weapon loadout breakdown lays out the gear side in the same step-by-step format.
Frequently Asked Questions
What does mop mean in Baddies?
Mopping is the community term for hitting a downed player while standing on top of them with the fists tool. It costs no charge bar, lands for free chip damage, and is the main way players drain wigs to make avatars go bald. It shares its setup with both the E stomp and the G carry, so all three finishers run off the same step-on position.
How do I carry a player if my fists tool is on cooldown?
You do not need the fists tool to start a carry. Step onto the downed body and press G on its own — the pickup only requires the G input and a target that is already on the ground. The fists tool is what unlocks the mop finisher, not the carry itself, so a cooldowned weapon does not block a G pickup.
Can I carry someone while my teammate is hitting them?
Yes, the carry locks the held target out of every input, but outside players can still hit you, the carrier, and they can hit the body. That is why most carriers drop the rival near a wall before re-stepping for a mop or stomp, because standing still with a body is the most exposed you can be in a group fight.
How do I make someone go bald in Baddies?
Repeatedly land mops or stomps on a downed player until their wig HP is empty. The knockdown chain — F hair pull, then step-on, then mop or E stomp — is the fastest loop, and it is the same sequence used for Baddies how to fight multiple players because it doubles as a way to remove a threat and embarrass them cosmetically at the same time.
Is carrying faster than just stomping in a 1v1?
In a clean 1v1, the E stomp is usually faster because it ends the fight in one input. The carry is a repositioning tool, so it shines when the target has backup and you need to drag them away from their team before the finish. For solo duels, drop the carry, re-step, and press E to close the round quickly.