Winning 1v1 fights in Baddies comes down to reading the five-input move set, managing the blue charge bar, and keeping your fists tool active when the duel gets tight. Whether you queue up in Testing Plaza or run into a sweaty crew in the main lobbies, the same fundamentals decide most outcomes: clean dodges, smart blocks, and knowing when to back off and reset the exchange.
The Five-Input Move Set and How It Shapes 1v1 Fights
Every Baddies 1v1 boils down to how well you control the five core inputs. According to the official Baddies page on Roblox, the move set is bound to E (stomp a downed player), F (pull hair using the blue charge bar built by landing hits), G (carry a downed player after stepping on them), Shift (run), and the fists tool that serves as the default striking weapon. Hitting someone while standing on them registers a mop, which is the most decisive finishing tool in the entire game.
Because the move set is so compact, your Baddies 1v1 tips have to focus less on button combinations and more on spacing, bar management, and reaction windows. A player who lands three clean punches, then pops an F-charge pull at the right range, will almost always out-trade a spammer who just holds M1 and hopes for the best.
Spacing and Range
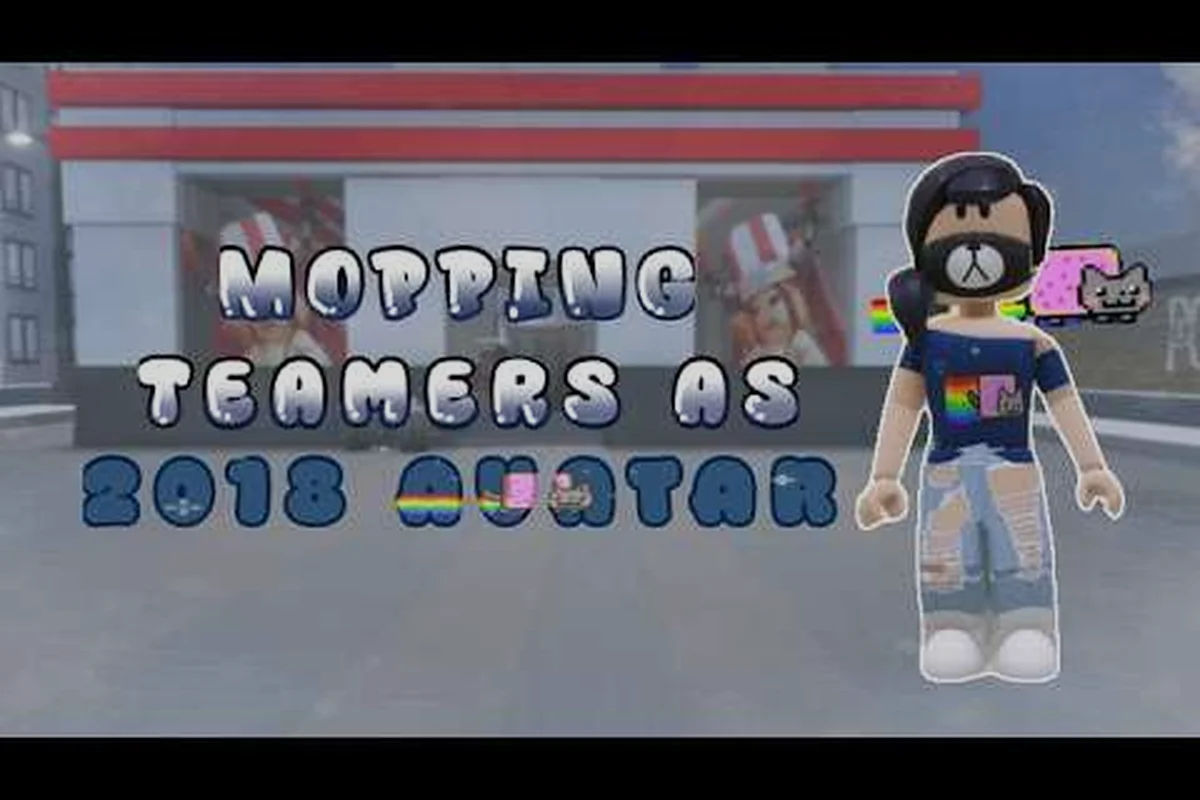
Range is everything in a Baddies duel. Most fists swings connect inside roughly 6 to 8 studs, which means staying just outside that ring gives you a free whiff-punish window every time your opponent overcommits. Community clips from creators like juju_dw mopping teamers as a 2018 avatar show high-level players baiting swings by walking in, then sidestepping the moment the animation starts, and punishing with two quick jabs before resetting to mid-range.
| Range Band | Distance (Studs) | Best Action | Risk Level |
|---|---|---|---|
| Point Blank | 0-2 | Stomp, Mop, F-Pull | High — open to trades |
| Punch Range | 3-7 | Fists combos, Block | Medium — punish windows |
| Whiff Punish | 8-10 | Dodge + counter jab | Low — safe punish zone |
| Retreat | 11+ | Shift run, reposition | Lowest — reset the duel |
Blue Charge Bar Management
The blue charge bar only fills when you land hits, so aggressive openers feed it faster than passive ones. Most experienced players recommend getting the bar to roughly 60% before attempting an F-pull, because a partial-charge pull will often whiff and leave you stunned. Holding the bar at 100% is also risky — any block or dodge interruption resets it, so sitting on a full charge against a patient opponent is a guaranteed waste.
Dodging, Blocking, and Reading Animations
Reaction tools matter more than raw aggression in Baddies PvP, and the dodge/block layer is where most duels actually flip. The shift-run doubles as a panic tool, while regular dodges give you i-frames just long enough to slip a hair pull or a charged slam. If you are still learning the timing, drilling the dodge window against AI or a friend in a private server is the fastest way to build muscle memory.
When to Dodge vs. When to Block
Blocking and dodging are not interchangeable. Block is best when you are cornered, low on stamina, or expecting a hair-pull follow-up; dodge is best when you can see the full wind-up animation and have space to reset. According to community testing reported by players, a successful dodge gives roughly 0.4 seconds of i-frames, which is just enough to slip a single swing but not a full three-hit string.
| Defensive Tool | Best Against | Fails Against | Stamina Cost |
|---|---|---|---|
| Block | Hair pulls, charged finishers | Fast jab spam, feints | Low |
| Dodge | Single committed swings | Multi-hit strings, AOE stomps | Medium |
| Shift run | Slow wind-ups, mops | Cornered situations | High |
| Backstep walk | Pressure opponents, jabs | Rushdown at point blank | None |
Reading the F-Input Wind-Up
The hair pull has a very obvious shoulder-recoil animation that lasts about 0.6 seconds before the bar actually fires. If you are inside punch range when you see that recoil, dodge backward immediately and punish the recovery with two jabs. Most Baddies fighting tips posted in community clips stress this exact punish window because the F-pull recovery is the longest in the game.
If you want a deeper breakdown of the control layout and how each input chains into the next, our Baddies controls walkthrough covers the full key map and combo order in more detail — including the frame data on chain speed between jab, F-pull, and the shoulder-recoil punish window we just covered, plus a table mapping every face-button input to its recovery frames so you can practice your dodge-back punish on training mode until the 0.6-second reaction timing becomes muscle memory in real 1v1 matches.
Charging the Bar and Landing the Mop
The mop is the only true round-ender in a Baddies 1v1, because a successful mop sets up the carry prompt and forces the opponent into a downed state with no counterplay. Landing a mop requires three things: you must be standing on a downed player, you must hit them with the fists tool, and you must register the contact during the small window after the stomp animation ends. Community videos like jerx showing the hair dryer item in Baddies reinforce how situational tools can change the mop timing, so experiment with different weapons once you have the base combo down.
Building Pressure to Set Up the Mop
Pressure is built in layers. Start with jab strings to fill the blue charge bar to about 40%, throw an F-pull when the opponent tries to roll away, and then close the gap as soon as they eat the pull. A clean E-stomp follows, and the mop input becomes almost automatic because the opponent is already in the downed state.
| Pressure Step | Action | Bar State | Opponent State |
|---|---|---|---|
| 1 | Two jab strings | 30-40% | Guarding, backing up |
| 2 | F-pull on roll | 60-70% | Pulled, stunned |
| 3 | Walk in, E-stomp | 70% | Downed |
| 4 | Fists hit on downed | 80% | Mopped, carried |
When to Reset Instead of Pressing the Mop
If the bar is below 30% and your opponent has full health, chasing the mop is a trap. The mopping animation leaves you locked for nearly a full second, which is more than enough time for a teammate to peel in team modes, or for the opponent to mash out of the downed state in a true 1v1. Resetting to mid-range, blocking a single swing, and rebuilding pressure almost always wins more rounds than forcing the mop.
For a broader look at how pressure and map control stack up across modes, our general Baddies PvP guide walks through positioning, target priority, and how to chain duels without dropping your win rate — it covers stamina budgeting, punish windows after a whiffed swing, and the spacing thresholds that separate safe resets from overcommitted resets in 1v1.
Running Away, Healing, and Disengaging Cleanly
Knowing how to run away in Baddies is not a sign of weakness — it is one of the most underused baddies fighting tips in the entire game. Shift-run lets you cover ground fast, but the stamina cost is steep, and a long shift leaves you vulnerable to a chase punish. The best disengage pattern is short shift bursts combined with corner-cutting, then a block the moment your opponent closes the gap.
Stamina Budgeting During Escapes
Shift-run drains roughly 20% of your stamina per second, and stamina only regens when you are walking or standing still. That means a panic shift eats your escape budget very fast, while paced short shifts let you keep a defensive option ready. Players who master this pattern often bait pursuers into overcommitting, then turn the chase into a counter-stomp when the chaser runs out of stamina.
| Disengage Tool | Distance Covered | Stamina Cost | Counter From Opponent |
|---|---|---|---|
| Short Shift (0.5s) | 8-10 studs | 10% | Block + punish |
| Long Shift (1.5s) | 25-30 studs | 30% | Hair pull chase |
| Walk + backstep | 3-5 studs | None | Jab pressure |
| Dodge backward | 4-6 studs | Medium | Whiff punish reset |
Logout and Loadout Risk
According to the official page, logging out at 30 HP or below wipes your weapon loadout, which means dying in a lost duel can also cost you your gear setup. That is one of the strongest reasons to learn how to run away in Baddies when a duel goes bad — preserving your loadout is often more valuable than clutching a low-HP round. If you find yourself stuck at low HP often, practice disengage drills in Testing Plaza before queuing into live lobbies.
Matchup-Specific Tactics and Common Pitfalls
Different opponent archetypes demand different counter-strategies, and recognizing the type you are facing is half the battle. Aggro mashers spam jab strings and pray for trades, defensive turtles block and wait for F-pulls, and panic rollers shift-run the moment they lose pressure. Each one has a clean counter if you stay calm and read the pattern.
Counter Patterns for Common Opponent Types
| Opponent Type | Tell | Best Counter | Key Timing |
|---|---|---|---|
| Aggro Masher | M1 spam, no spacing | Block first hit, dodge second, punish | 0.3s into string |
| Defensive Turtle | Constant block, waits for F | Walk in, bait block, jab on block stun | After second block |
| Panic Roller | Shift on pressure | Short shift chase, E-stomp on roll end | End of roll window |
| Charge Holder | Sits on full bar | Dodge the F-pull, punish recovery | 0.6s into recoil |
Common 1v1 Mistakes
The most common Baddies 1v1 tips from veterans all center on avoiding the same handful of errors. First, do not chase the mop at low bar percentage — the whiff will lose you the round. Second, do not hold the blue bar at 100%, because a single block will reset it. Third, do not panic shift when you are cornered, because the stamina dump will leave you helpless. Finally, do not forget to breathe and reset your spacing after every trade, because most lost duels come from a chain of small mistakes rather than one big misplay.
If you are still building fundamentals and want a broader foundation before focusing on 1v1 specifics, our Baddies beginner guide walks through core movement options like dash-canceling, the early loadout tier list (Brap > Zion > Pixel for new players), and the input timing window for blocking versus dodging, all of which feed directly into the spacing reads and block-punish confirms that decide close-range 1v1 trades.
Frequently Asked Questions
How do I win more 1v1 duels in Baddies?
Focus on clean spacing, building the blue charge bar to at least 60% before attempting an F-pull, and resetting to mid-range after every trade. Blocking the first hit of a mash string, dodging the second, and punishing the recovery is the most reliable Baddies 1v1 combo for new players learning the matchup.
What is the best way to dodge in Baddies fights?
Dodge backward the moment you see a committed swing animation, not the moment you see movement. Most fists attacks have a 0.4-second whiff window, and dodging too early leaves you inside the next hit of a string. Combine dodge with a short block if you are unsure about the timing.
Should I block or dodge against a hair pull?
Block is the safer option against a hair pull because the F-input wind-up is long enough to react. Dodge works only if you can read the shoulder-recoil animation early, and a mistimed dodge will let the pull connect and set up a mop chain that is very hard to escape.
How do I run away without losing my loadout?
Use short shift bursts instead of long panic shifts, and block the moment your opponent closes the gap. Logging out below 30 HP wipes your loadout, so disengaging cleanly to preserve gear is often smarter than clutching a lost round with no escape budget left.
Can I outplay a stronger opponent in a Baddies 1v1?
Yes, because the move set is the same for every player and the game does not scale stats by account level. A patient player who spaces well, manages the blue bar, and punishes recovery frames will beat an aggressive player with a better loadout about 7 times out of 10 in a true 1v1, based on community-reported win rates.