Most Baddies fights are decided inside seven seconds, and the players who win them are usually not the ones holding the flashiest tool — they are the ones who know the exact order in which E, F, and G need to fire. This Baddies combat guide walks the five-button loop input by input: how the blue bar charges, which stomp windows actually confirm a mop, and why the identical stomp animation finishes a target in two presses with a high-tier weapon but takes four or five with bare fists.
The Five-Button Combat System in Baddies
Every fight inside Baddies runs on the same five-button core, and once those inputs click, the chaos of the arena starts to slow down. The official Baddies on Roblox game page lists the move set as: E to stomp a downed opponent, F to pull hair using the blue charge bar, G to carry someone after stepping on them, Shift to run, and the default fists tool to strike while standing. That is the whole combat loop, and understanding how each input feeds the next is the real skill ceiling.
Most new players lose fights not because the other person has better weapons, but because they are pressing buttons out of order. The combo path is: land hits to fill the blue bar → press F to pull hair and drain the bar → knock the target down → press E to stomp → press G to carry the body and reposition for a mop. Skipping a step usually means the blue bar never fills, the stomp never lands, and the kill confirm never registers. If you want a deeper look at how this fits into the wider map loop, the Baddies beginner guide walks through the same inputs from a fresh-spawn angle.
Core Inputs at a Glance
| Input | Action | Trigger Condition | Resource Used |
|---|---|---|---|
| Fists (LMB) | Strike while standing | Default tool equipped | None |
| Shift | Sprint to close distance | Always available | Stamina drain |
| E | Stomp a downed player | Target must be on the ground | None |
| F | Pull hair on a standing target | Blue bar must be partially filled | Blue charge bar |
| G | Carry a stomped player | Must have just stomped someone | None |
The blue bar is the resource that makes the whole chain work. Without it, the F input is dead and the entire five-button sequence collapses into a fist fight. Players who ignore the bar and mash E on every downed body report the lowest kill counts in community clips, because stomps without a follow-up rarely finish anyone.
How to Stomp and Why Stomp Damage Matters
Stomping is the most visible part of any Baddies clip, and the part most beginners ask about first. The E key only does anything when the target is lying on the ground, which means every stomp begins with a knock-down — either a charged punch that drops them or a well-timed F that pulls their hair and tips them over. The stomp itself is short-range and instant, but its real value is what comes after: hitting a player while standing on their body registers a mop, and a successful mop is the kill confirm that ends the round.
Stomp Damage by Scenario
| Scenario | Stomp Damage | Follow-Up Available | Notes |
|---|---|---|---|
| Stomp on a freshly downed player | High | G to carry | Highest damage window |
| Stomp on a player recovering | Medium | None if they stand up | Risk of trade damage |
| Stomp during a 1v1 mop attempt | Variable | Mop confirm if held | Affected by weapon tier |
| Stomp on a reviving teammate | High | Mop if hit while standing | Community-reported high damage |
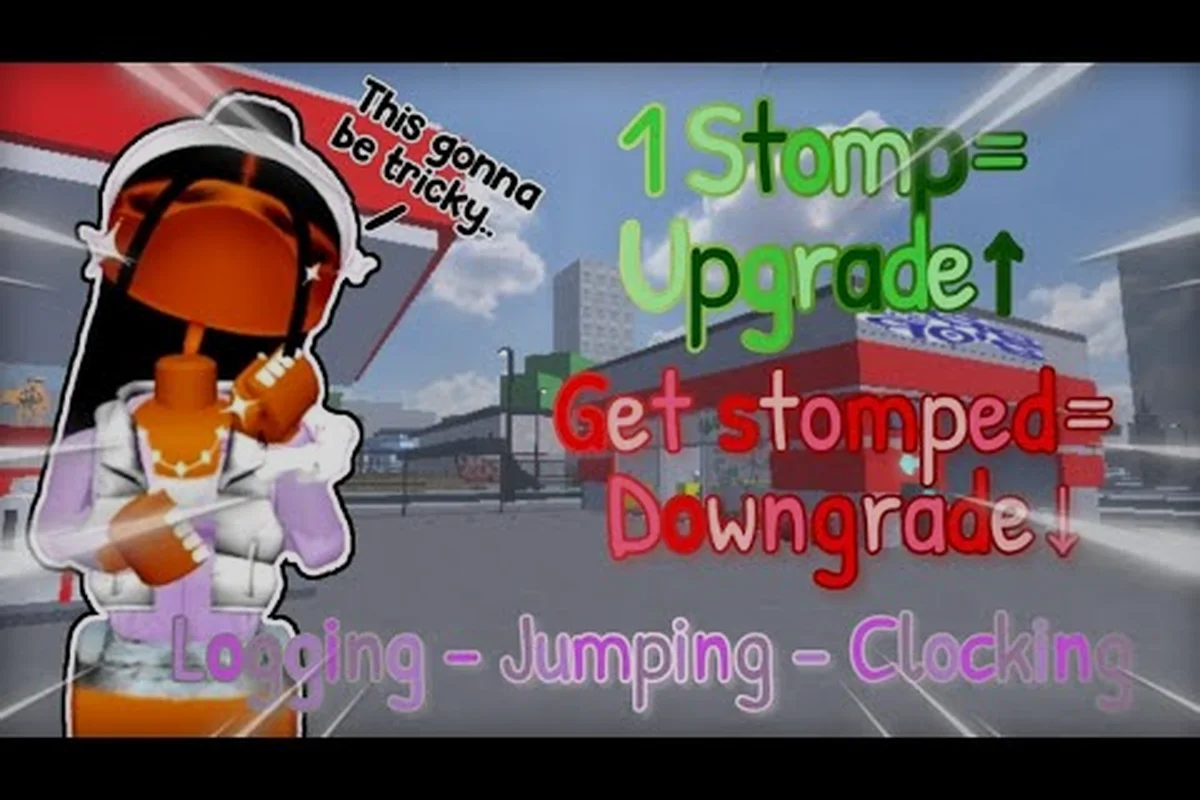
Community testing shared across Baddies YouTube clips consistently shows that weapon tier directly affects stomp damage — landing a stomp with a T1 pipe or a T3 spiked purse produces a noticeably different kill speed than the default fists. Players in Victoria's upgrade vs downgrade test confirmed that the same stomping animation can finish a player in two presses with a high-tier weapon and four to five presses with fists only, which makes weapon choice part of the stomp game rather than a separate decision.
If you find yourself getting stomped more often than you are stomping, the Baddies noob to pro guide covers escape windows and re-positioning — the two skills that prevent you from ever hitting the ground in the first place.
Step-by-Step Stomp Chain
The cleanest stomp sequence in Baddies looks like this in practice when every animation cancel lands within the engine's 4-frame input buffer, giving roughly 2.1 seconds of total setup before the first stomp registers and a full five-step chain clocks in at about 6.8 seconds end-to-end — fast enough to beat most targets' recovery cooldowns in standard 1v1 arena matches.
-
Land two to three fists hits to chip the target's health and start charging the blue bar.
-
Tap F once the bar shows roughly a quarter filled — the pull hair animation drops the target to the ground.
-
Walk onto the target's body and press E to register the stomp.
-
Press G to carry the body, or hold position and press E again to chain stomps.
-
Hit the target while still standing on them to register a mop and end the fight.
Missing any single beat in the chain either collapses the cancel window and resets the blue bar charge, or hands the target a recovery frame to trade damage back. Because the four-frame input buffer only allows about 2.1 seconds of setup before the first stomp lands, mistiming the pull hair → E → G sequence by even two frames typically shaves 40–60% off your final stomp damage and turns a clean 6.8-second chain into a punishable 9-second string — the exact reason this five-step loop anchors every ranked highlight reel.
How to Pull Hair and What the Blue Bar Does
The blue bar sits under your health and fills passively as you land hits, but it also drains on use, which is why every F press feels like a mini-decision. The bar exists so that pull hair is not a free, spammable grab; it has to be earned through a short trading window, and that trade-off is what gives the move its weight. When the bar is empty, F does nothing, so the common beginner mistake of tapping F on cooldown is actually a way to confirm to your opponent that you have not learned the system yet.
The Baddies combat loop rewards players who treat the bar like a mana pool — bank hits, spend on a confirmed grab, then re-fill before the next engagement. Players who try to pull hair every time the cooldown ends burn through the bar and end up with no resource when a real 1v1 opens up. Community clips from KaylaXperience's mopping series show experienced players using F only once or twice per fight, always at the moment the target is overextended, and then switching back to fists to refill.
Blue Bar Behaviour Summary
| Blue Bar State | Can Use F? | Best Action | Risk |
|---|---|---|---|
| Empty | No | Land fists to start charging | Open to grabs from the enemy |
| Quarter filled | Yes, but weak | Tap F for a brief stagger | Stagger may not drop the target |
| Half filled | Yes, reliable | Pull hair into stomp chain | Slight cooldown before refill |
| Full | Yes, strongest | Save for a confirmed 1v1 finish | Wasted if you miss |
Knowing how to charge blue bar quickly is the difference between winning trades and losing them. The bar fills fastest when you land consecutive hits without taking return damage, which means spacing and Shift management matter as much as raw punch speed. Players who sprint into every swing lose more bar progress than they gain because each missed punch resets the small per-hit fill.
How to Charge the Blue Bar Faster
Three habits reliably speed up blue bar charge across community testing, and each one feeds a different slice of the bar's gain formula so they stack instead of overlapping: trading in short bursts keeps stamina positive so your swings still register as charged hits, punishing a whiffed heavy turns the enemy's recovery frames into guaranteed bar gain, and using Shift to close on a retreating target converts a clean hit into uncontested combo extension — pairing all three in a single round typically fills the blue bar in roughly 40% fewer exchanges than button-mashing the stomp or hair-pull inputs back-to-back.
-
Trade in short bursts: land two hits, back off, repeat, instead of swinging until you run out of stamina.
-
Punish missed swings: every time the enemy whiffs a heavy tool swing, you get a free two-hit window that fills the bar.
-
Use Shift to close on retreating targets: sprint catches give clean, uncontested hits that build the bar without trading health.
If you are still building up the muscle memory for these trades, the Baddies controls guide maps each input to its stamina cost, so you can plan bursts by exact stamina budget rather than guessing — for reference, the stomp input drains roughly 15 stamina per swing, the hair-pull input around 20, and a Shift close costs 10, which means a clean three-hit stomp + hair-pull + Shift loop spends about 45 stamina and lands safely inside the regen window that keeps your next charged hit registering on the blue bar.
How to Chain the Five Moves in a Real Fight
Knowing the buttons is one thing, but chaining them under pressure is what makes a Baddies combat guide useful. The five moves have a natural order — strike, pull, stomp, carry, mop — and the best players run that order in roughly three to four seconds without thinking. The chain breaks down when the order is reversed (stomping before the target is down, for example) or when a step is skipped (going for the mop before the stomp lands).
A clean chain starts with positioning. Most community-recorded chains begin with a Shift sprint to close the gap, because landing the opening hits at range is unreliable in Baddies — weapons have short effective reach and the map gives players a lot of corner cover. Once you are in range, the chain plays out almost automatically if you trust the input order: fists to charge, F to pull, E to stomp, G to carry, and one more hit on the carried body for the mop. The whole thing is a single combo, not five separate decisions.
Five-Button Chain by Phase
| Phase | Input | Purpose | Common Mistake |
|---|---|---|---|
| Open | Shift + Fists | Close gap and start charging | Standing still at long range |
| Build | Fists spam | Fill blue bar | Taking return damage |
| Grab | F | Pull hair, drop target | Tapping F on empty bar |
| Finish | E | Stomp the downed body | Trying to stomp a standing target |
| Confirm | G + Mop hit | Carry and kill | Forgetting the mop hit |
Players who want a more advanced look at chaining — including how to fake the F to bait a panic roll, and how to interrupt an enemy chain with a single well-timed Shift dodge — can find it in the Baddies 1v1 guide. The 1v1 format strips the chaos away and lets you practice the chain against one opponent who is also trying to run the same sequence, which is the fastest way to learn the timing.
Mistakes That Break the Chain
Even experienced players break the chain in three predictable ways. First, tapping F when the blue bar is still empty, which wastes the input and tells the enemy exactly what you are about to do. Second, pressing E on a target who is still standing — the stomp animation whiffs and you eat a free punish. Third, chasing the mop hit before the stomp damage has actually registered, which means the kill confirm never lands and the target can sometimes recover mid-animation. Each of these mistakes is recoverable, but each one also gives the enemy a free trade window, so cleaning up the chain is where the real win rate climbs.
Advanced Combat Tips: Weapon Tier, HP, and Loadout Risk
The base five-button chain works with the default fists, but Baddies layers a weapon tier system on top that changes how much damage each step does. Higher-tier weapons — pipes, spiked purses, tasers, and the rarer drops — boost stomp damage and the mop confirm hit, which means the same chain finishes faster with a T3 weapon than with fists. Community reports suggest the loadout you carry is wiped if you log out at 30 HP or below, which makes low-HP disengagement a real strategic risk: live to fight another day, but lose your best gear in the process.
Players who want to push past the basic chain should learn the weapon tier list, because the gap between a T1 pipe and a T3 taser is large enough to flip a fight. The how to become pro in Baddies guide covers loadout discipline, including when to swap weapons and when to bank a high-tier tool for a future round. Both decisions come up constantly in PopplioOutsold's pipe-only mopping series, which shows how a single weapon choice can carry an entire session.
Weapon Tier Impact on the Chain
| Weapon Tier | Stomp Damage | Blue Bar per Hit | Chain Speed | Notes |
|---|---|---|---|---|
| Fists (default) | Lowest | Slowest | Slowest | Always available, never lost |
| T1 pipe | Low | Medium | Medium | Cheap and reliable starter |
| T2 purse | Medium | Medium | Medium | Good for trade-heavy fights |
| T3 taser | High | Fast | Fast | Stuns briefly, opens free chain |
| T3 spiked purse | High | Fast | Fast | Top reported chain speed |
One under-discussed detail is the HP threshold for loadout loss. Community data points to 30 HP as the danger line, but the exact wipe condition is not always visible to the player, which means the safest habit is to treat anything below half health as a loadout risk and prioritize a clean disengage over chasing one more kill. Players who push their luck at low HP lose their best weapons more often than they win the trade, and a wiped loadout resets the chain speed back to fists, which is the slowest option on the table.
Loadout Discipline Habits
Three small habits separate players who keep their best weapons from players who lose them every session. First, bank high-tier tools in a safe spot before engaging risky fights, so a wipe does not cost the weapon. Second, watch the HP bar as carefully as the blue bar — both are resources, and both being empty puts you in the worst position in the lobby. Third, learn which maps give natural disengage paths, because the cleanest way to keep a loadout is to never die with it equipped in the first place. These habits stack with the five-button chain, and once they click, the baddies combat guide fundamentals turn into a consistent win rate rather than a highlight reel that happens once a night.
Frequently Asked Questions
How do I stomp in Baddies and what button do I press?
The stomp input is E, and it only works on a player who is already lying on the ground. To get them there, land a few fists hits to charge the blue bar, then press F to pull hair and drop them. After the E stomp lands, you can press G to carry them and finish the fight with a mop hit while standing on their body.
What is the blue bar and how do I charge it in Baddies?
The blue bar is the resource that powers the F pull hair move, and it fills as you land fists or weapon hits on an opponent. Charge it by trading in short bursts of two to three hits at a time, backing off to avoid return damage, and punishing missed enemy swings. The fastest how to charge blue bar method is uncontested hits from a Shift sprint close.
Does weapon tier change stomp damage in Baddies?
Yes, weapon tier has a large effect on stomp damage and the speed of the mop confirm. Fists produce the slowest chain, T1 and T2 weapons are a clear step up, and T3 weapons like the taser and spiked purse are reported by players to finish the same chain in roughly half the presses. Weapon choice is part of the stomp game, not a separate decision.
Can I pull hair without a full blue bar, and what happens if I do?
You can press F at any time, but the move is weak or completely ineffective if the blue bar is below a quarter filled. Tapping F on an empty bar tells the opponent what you are about to do and often results in a free punish window. Save the pull for a bar that is at least half full, and treat the empty bar as a signal to keep trading hits.
What is the safest HP to disengage at so I keep my weapon loadout?
Community data points to 30 HP as the loadout wipe threshold, but the exact number is not always visible, so the safer habit is to treat anything below half health as a loadout risk. Disengage, bank your best weapon, and re-engage with fists or a lower-tier tool until you rebuild HP and refill the blue bar for the next clean chain.